Installation Guide
Install the first time with the web flasher. After that, update from the device itself, over Wi-Fi or from the SD card.
Supported devices
Each device has its own firmware file. Pick your device in the web flasher and it writes the right one.
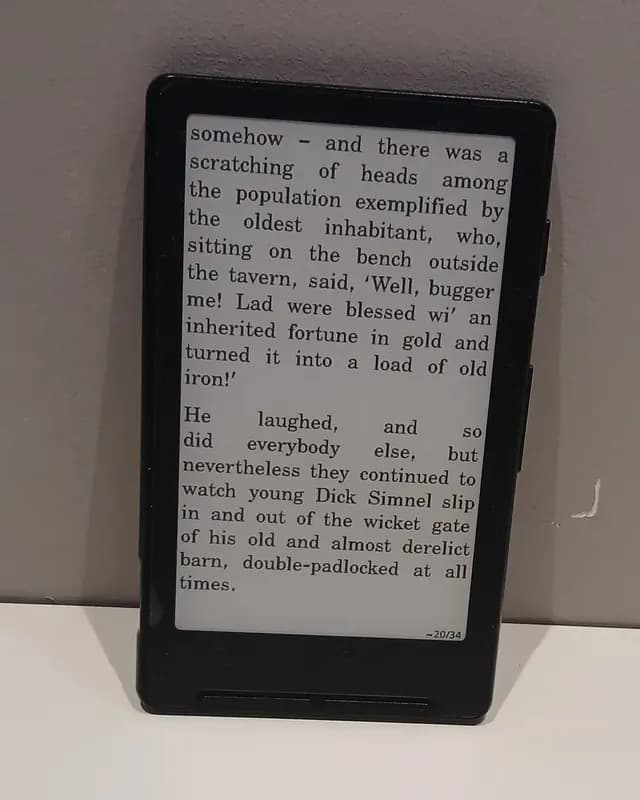

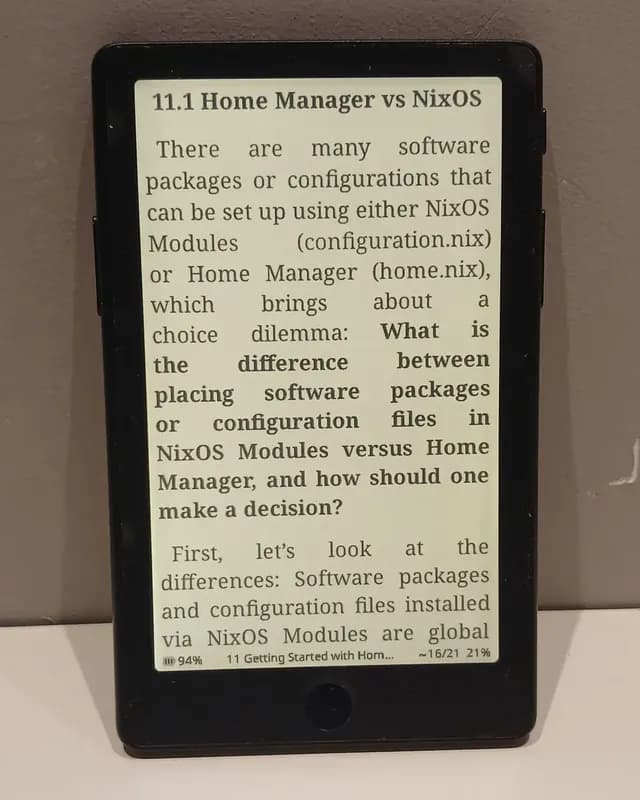
Xteink X4 Pro
ESP32-S3
SD / wireless update file
crosspoint-2.0.0-ko.1-x4pro.binDownload
Xteink X4 Classic
ESP32-S3
SD / wireless update file
crosspoint-2.0.0-ko.1-x4c.binDownload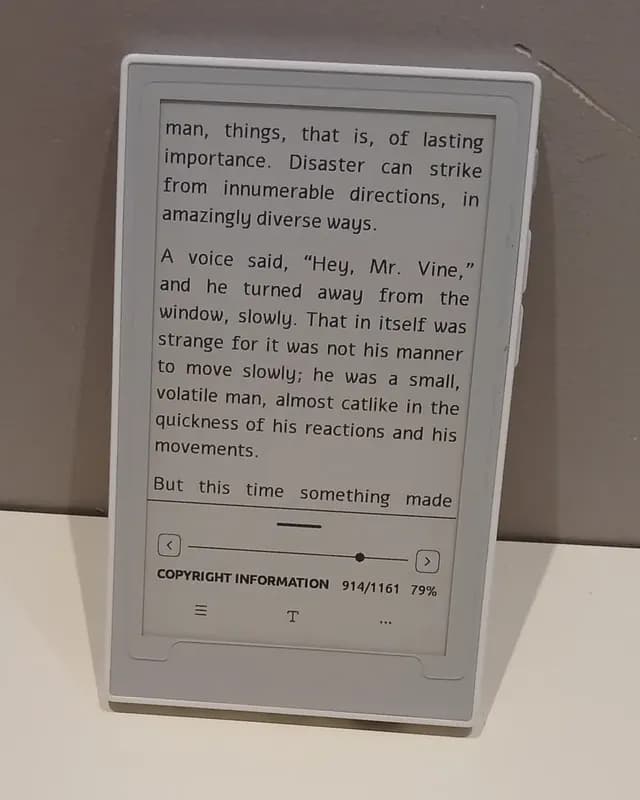
Seeed reTerminal Sticky
ESP32-S3
SD / wireless update file
crosspoint-2.0.0-ko.1-sticky.binGet it from the release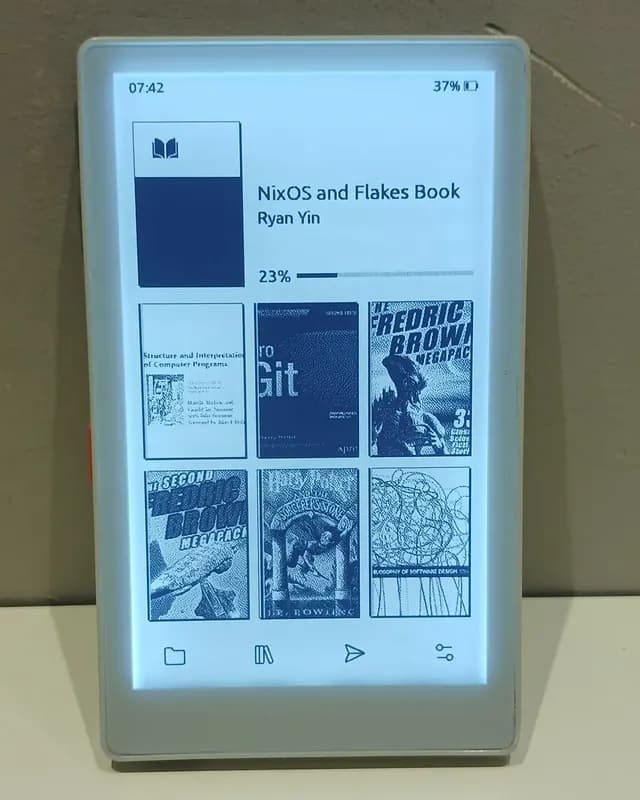
M5PaperMono
ESP32-S3
SD / wireless update file
crosspoint-2.0.0-ko.1-papermono.binGet it from the releaseKeeps settings: the web flasher replaces only the app partition. Resets settings: it writes the bootloader and partition table too, so device settings are cleared. Either way, books and files on the SD card stay.
Install with the web flasher
Use this for the first install. You need Chrome or Edge on a computer; Safari and Firefox do not work.
- 1
Connect over USB
Turn the device on and connect it to your computer. The X3 uses the magnetic cable it came with; the other devices use a USB-C cable. Charge-only cables are not detected.
- 2
Pick your device and flash
Under Korean firmware (community) in the web flasher, pick your device and press Flash. Choose the USB serial device in the browser's dialog.
Open the web flasherOn a first install, take a backup with Save full flash on the same page first (about 25 minutes). You need it to go back to the stock firmware.
- 3
Turn it back on
- X4, X3: restarts by itself. If it seems stuck, press the reset button, then hold the power button for a second.
- X4 Pro, X4 Classic: unplug and replug the USB cable, then hold the power button.
- Sticky, Paper Mono: device settings are reset. Press the power button to turn it on.
If your device is not in the dialog, try another USB port, cable or browser. If it still does not appear, it may be a locked device.
Check the install
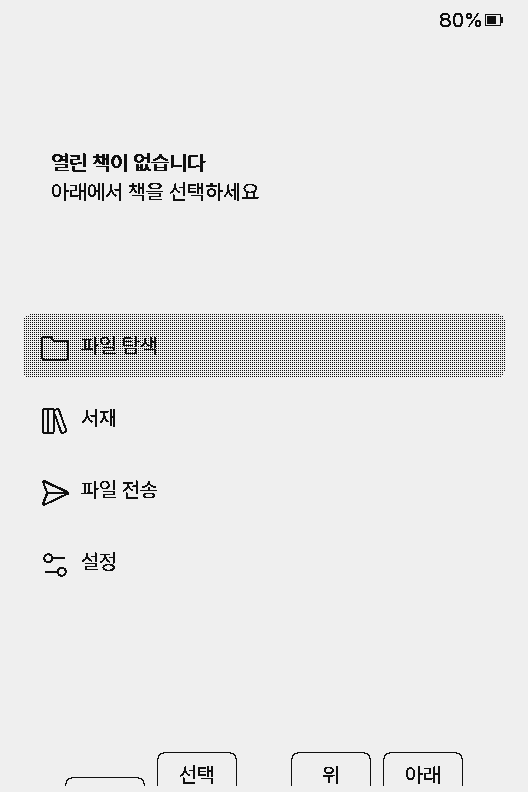
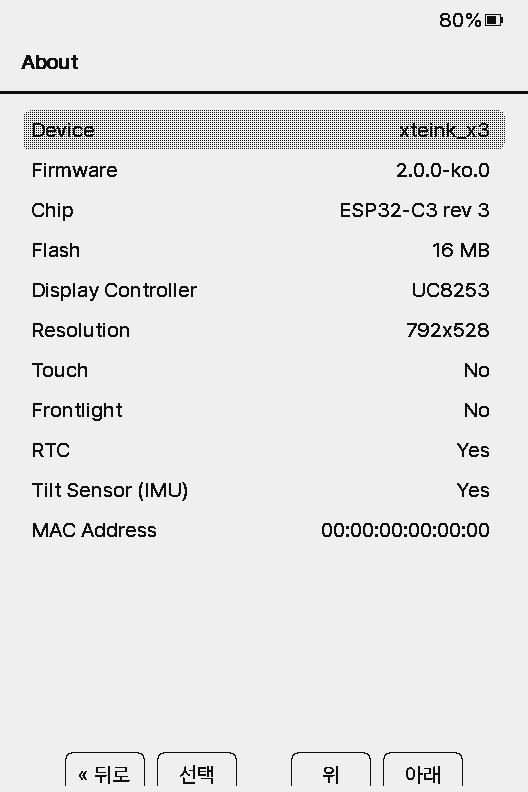
Screens are from the X3, shown in Korean. The menus are the same on every device.
Wireless update
A device already running CrossPoint updates itself over Wi-Fi, no file needed.
- 1Open Settings → System → Check for Updates.
- 2Pick a network from the Wi-Fi list. Saved networks connect right away.
- 3If there is a newer version, the current and new versions are shown. Choose Update to download, install and restart.
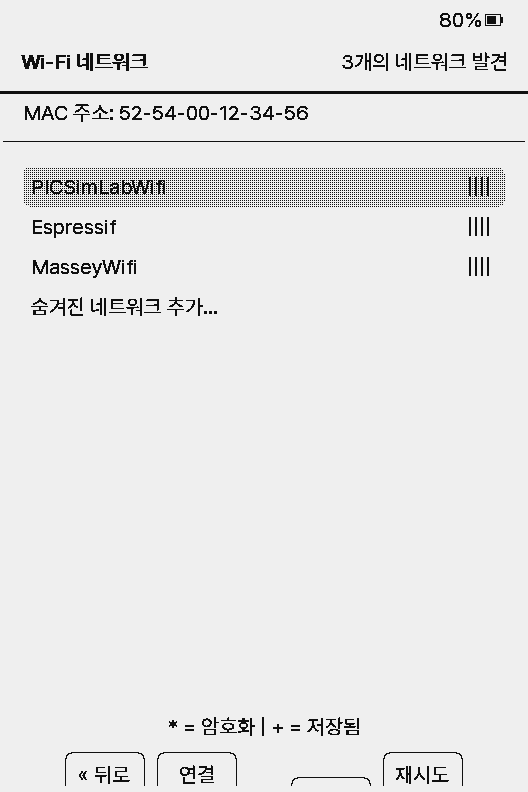
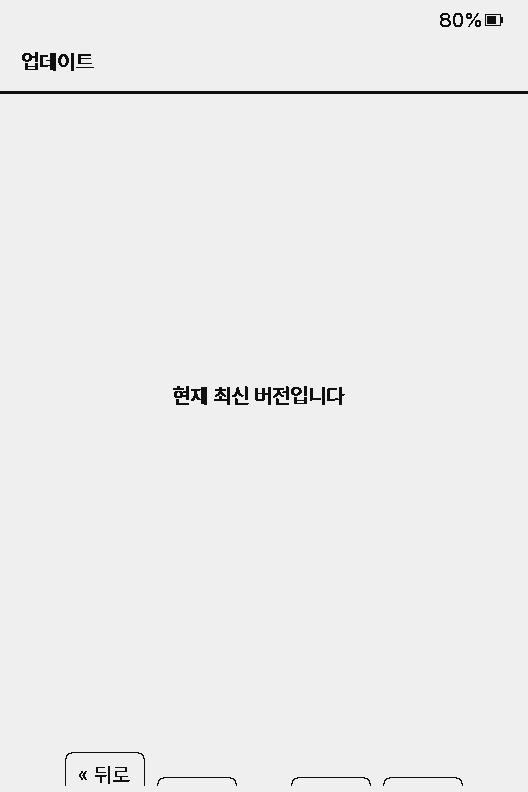
The device fetches the file for its own model. The X4 downloads to the SD card first and installs from there, so keep the card inserted.
Update from the SD card
A device already running CrossPoint can update without a computer or Wi-Fi.
- 1Download the
.binfile for your device from Supported devices. - 2Copy it to the SD card. Folder and file name do not matter.
- 3Go to Settings → System → SD Card Firmware Update, pick the file and confirm.
- 4The device restarts when it is done. Do not power it off while it writes.
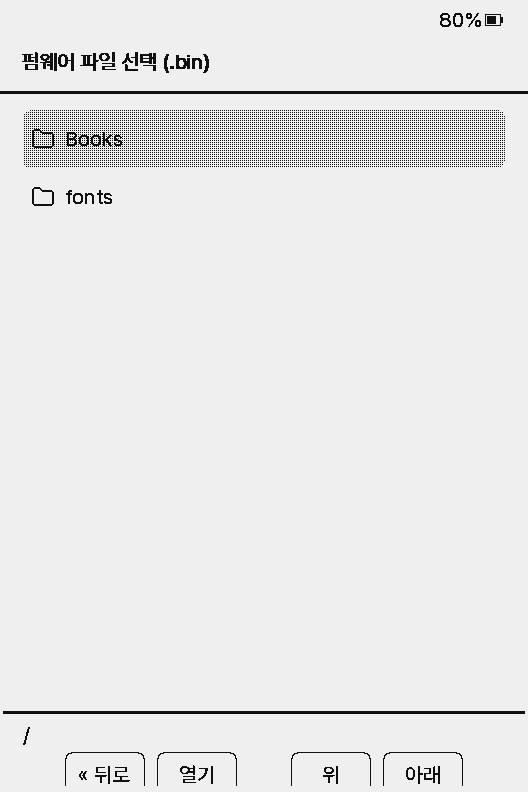
Files for another device, damaged files and files of the wrong size are rejected before anything is written.
Recovery mode
For when you cannot reach the home screen. Hold the Up (previous) button while turning the device on with the power button, and it opens the SD firmware picker instead of booting. On the X4 Pro and X4 Classic, hold Down. The Paper Mono has no recovery mode.
Locked Xteink devices
Some Xteink units sold by third-party stores such as AliExpress ship with USB flashing locked. Devices bought directly from xteink.com are not locked.
Try the web flasher first. Use the unlock tool only if the device never shows up in the serial dialog.
Unlock tool (crosspointreader.com)The unlock tool supports only CrossPoint and CrossInk. Flashing anything else can brick the device or leave it stuck on that firmware.
Install from the SD card on stock firmware (X3, X4)
- 1Download the X3/X4 file from Supported devices and copy it to the root of the SD card as
update.bin. - 2Insert the card, connect USB power and hold Power + Up to start the device. On the X3, use the top-left button.
- 3The factory bootloader finds CrossPoint on the card and installs it. This does not unlock USB flashing.
Advanced: flash a file yourself
Upload a file to the web flasher
To install a specific version, download it from the releases and use Flash firmware from file in the web flasher. Pick your device first.
esptool (command line)
Writes the full image at address 0x0. Because it also writes the bootloader and partition table, device settings are reset. The files are on the releases page.
pip install esptool| Device | Command |
|---|---|
| X4 · X3 | esptool.py --chip esp32c3 write_flash 0x0 CrossPoint-2.0.0-ko.1-x3-x4-full.bin |
| X4 Pro | esptool.py --chip esp32s3 write_flash 0x0 CrossPoint-2.0.0-ko.1-x4pro-full.bin |
| X4 Classic | esptool.py --chip esp32s3 write_flash 0x0 CrossPoint-2.0.0-ko.1-x4c-full.bin |
| Sticky | esptool.py --chip esp32s3 write_flash 0x0 CrossPoint-2.0.0-ko.1-sticky-full.bin |
| Paper Mono | esptool.py --chip esp32s3 write_flash 0x0 CrossPoint-2.0.0-ko.1-papermono-full.bin |
Do not unplug the USB cable while it writes.
Go back to the stock firmware
For the X3 and X4, download a stock firmware below. Books and the CrossPoint settings file on the SD card stay.
Stock firmware downloads
File names are the manufacturer's originals.
Web flasher
Flash it from the X4/X3 stock firmware entries in the web flasher.
SD card
Copy the file to the SD card and pick it in Settings → System → SD Card Firmware Update.
X4 Pro, X4 Classic, Sticky, Paper Mono
Stock firmware for these devices is not offered here. Restore the Save full flash backup you took before installing, with Write full flash from file in the web flasher.